JumboBridge ships as a single Docker image. Publish two ports, mount a volume for your data, and you have the whole console — forwarding, mock servers, mock SQL databases, echo servers, an API client and a network simulator — running locally in about a minute. A standalone jb CLI runs the same engines headless.
Before you start. You only need Docker installed. No database, runtime or build tools required — everything is baked into the image.
Install
1 · Run it with Docker
Pull and run the published release from Docker Hub. This publishes the web UI on 8080 and the whole 20000–20100 forwarding range, and persists your projects to a named volume:
Then open http://localhost:8080 — create a project, add a forward rule or mock server, and share host:port with whoever needs it.
Publish the whole range. The 20000-20100 mapping is what forward rules and mock servers bind to — without it they'll start but be unreachable from your host.
Keep the volume.-v jumbobridge-data:/data persists your config across restarts. Drop it for a throwaway instance.
Or run it with Compose
Prefer Compose? Save this as docker-compose.yml and run docker compose up -d:
docker-compose.yml
# docker-compose.yml
services:
  jumbobridge:
    image: time2wall/jumbobrdige:v0.1.0
    container_name: jumbobridge
    ports:
      - "8080:8080"                 # web UI + API
      - "20000-20100:20000-20100"   # forwarding / mock port range
    environment:
      PORT_RANGE: "20000-20100"
      UI_PORT: "8080"
      RUST_LOG: "info"
    volumes:
      - jumbobridge-data:/data
    restart: unless-stopped

volumes:
  jumbobridge-data:
Configure
2 · Environment variables
Every setting is optional — the defaults below match the built-in behaviour. Pass them with -e on docker run or under environment: in Compose.
Variable
Default
Description
UI_PORT
8080
Web UI / API port (also settable via JUMBO_PORT).
PORT_RANGE
20000-20100
Range reserved for forwards, mocks and echo servers.
DATABASE_URL
(unset)
sqlite:… or postgres:…; unset means a local SQLite file.
JUMBO_SQLITE_PATH
/data/jumbobridge.db
SQLite file location when DATABASE_URL is unset.
JUMBO_HOST
0.0.0.0
Bind address. Set 127.0.0.1 to restrict to localhost.
JUMBO_DEV
false
true enables development mode (permissive CORS, debug logging).
RUST_LOG
info
Log filter (tracing EnvFilter syntax).
Trust model. JumboBridge has no built-in authentication and binds 0.0.0.0 by default. Its API client and forwarders can reach internal hosts, so run it on a trusted network (or behind your own auth proxy) — don't expose it to the public internet. Set JUMBO_HOST=127.0.0.1 to restrict it to localhost.
Use it
3 · A tour of the console
Here's the whole workflow, screen by screen — from opening the dashboard to breaking the network on purpose.
01
Open the dashboard
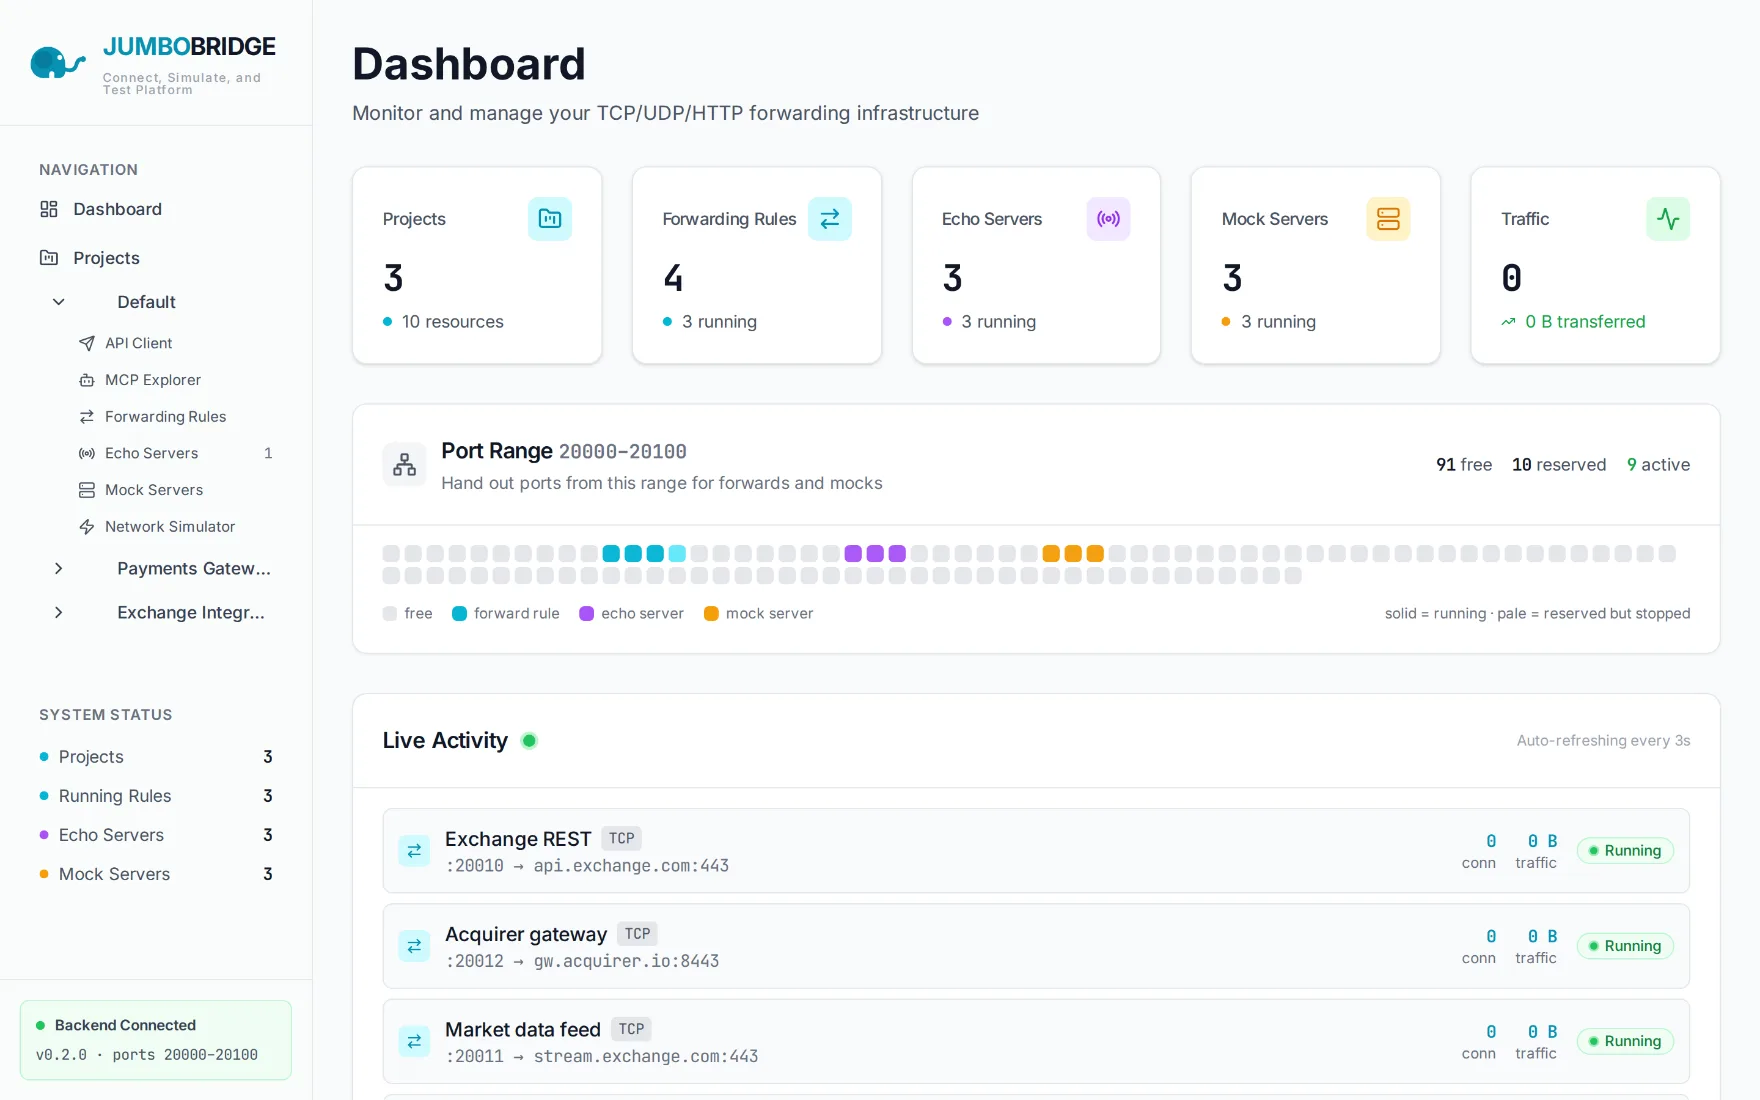
Browse to http://localhost:8080. The dashboard shows the reserved 20000–20100 range, how many ports are free, reserved and active, and a live activity feed of every forwarder and mock — refreshed over a WebSocket as traffic flows.
02
Group work into a project
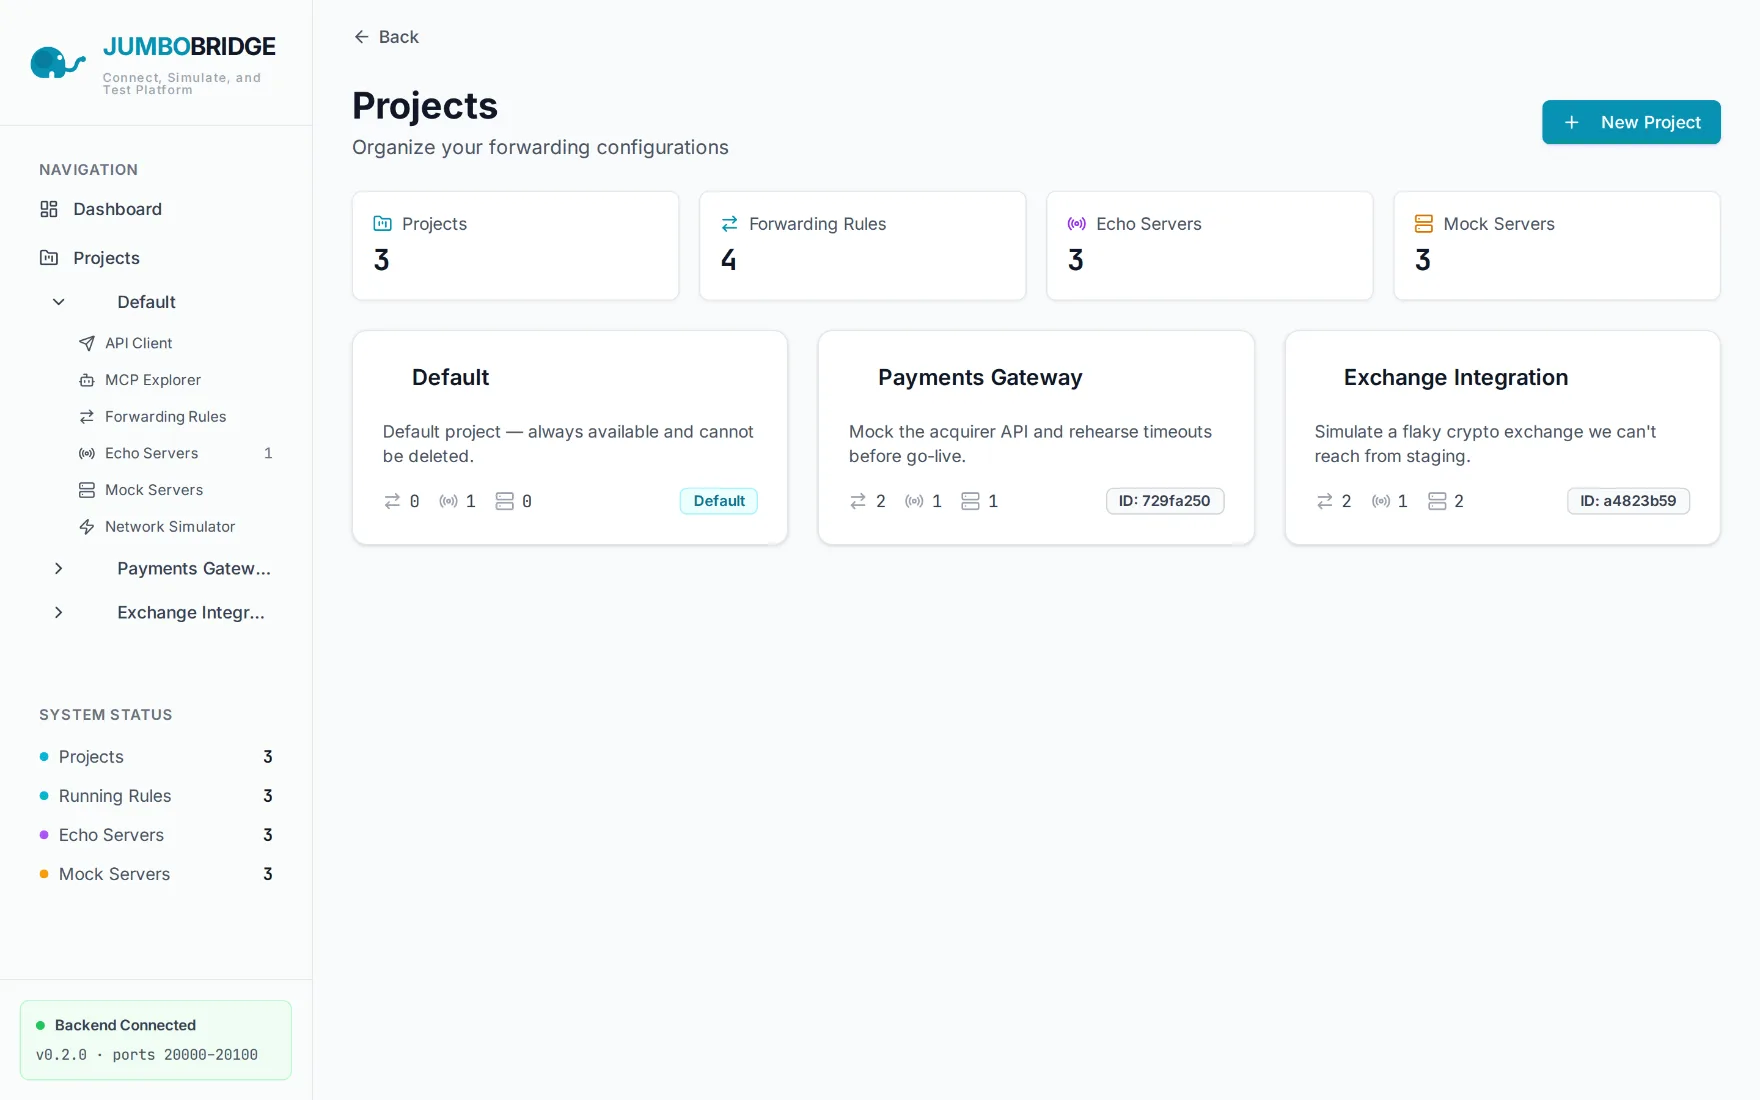
Projects keep related forwards, mocks and disruption scenarios together. A Default project always exists; hit New Project to add your own — for example one per integration you're testing.
03
Add a forwarding rule
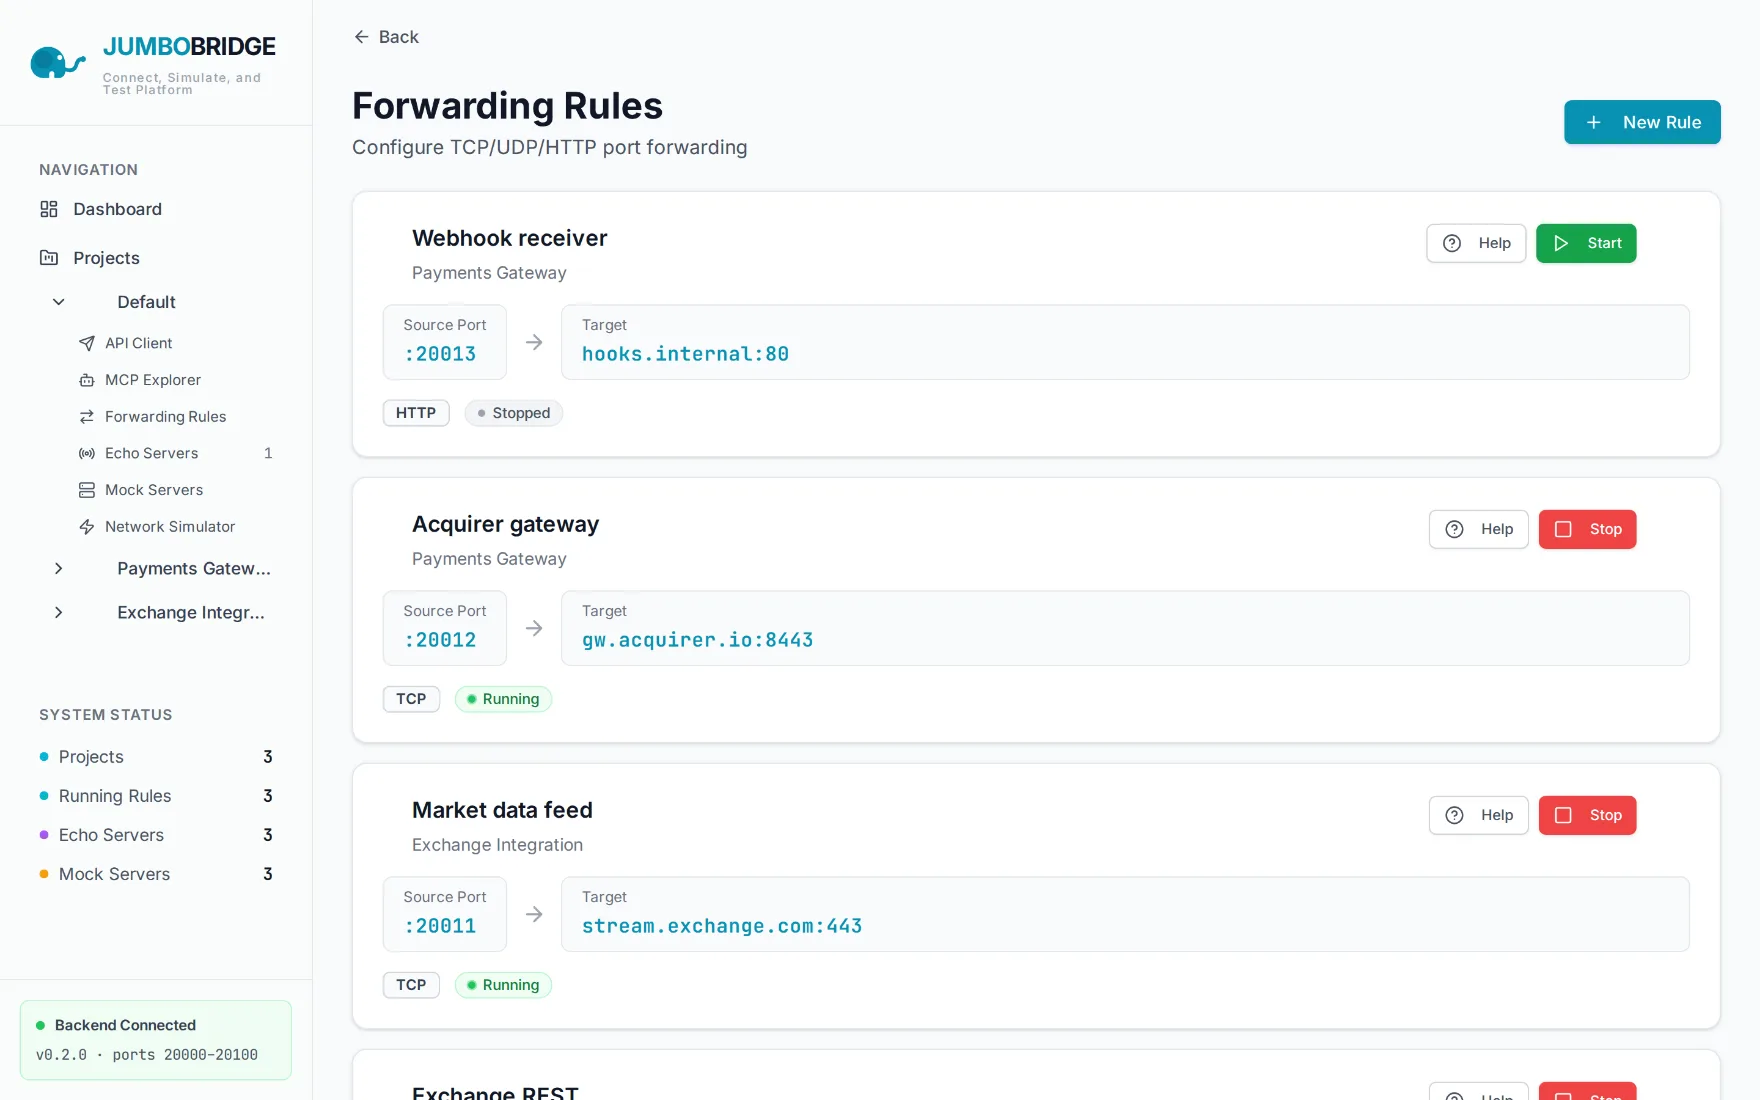
Pick a source port from the range (or let it auto-assign) and point it at any host:port — TCP, UDP or HTTP. Start and stop each rule from its card and watch the connection and byte counters climb. Share host:port with whoever needs the tunnel.
04
Stand up a mock server
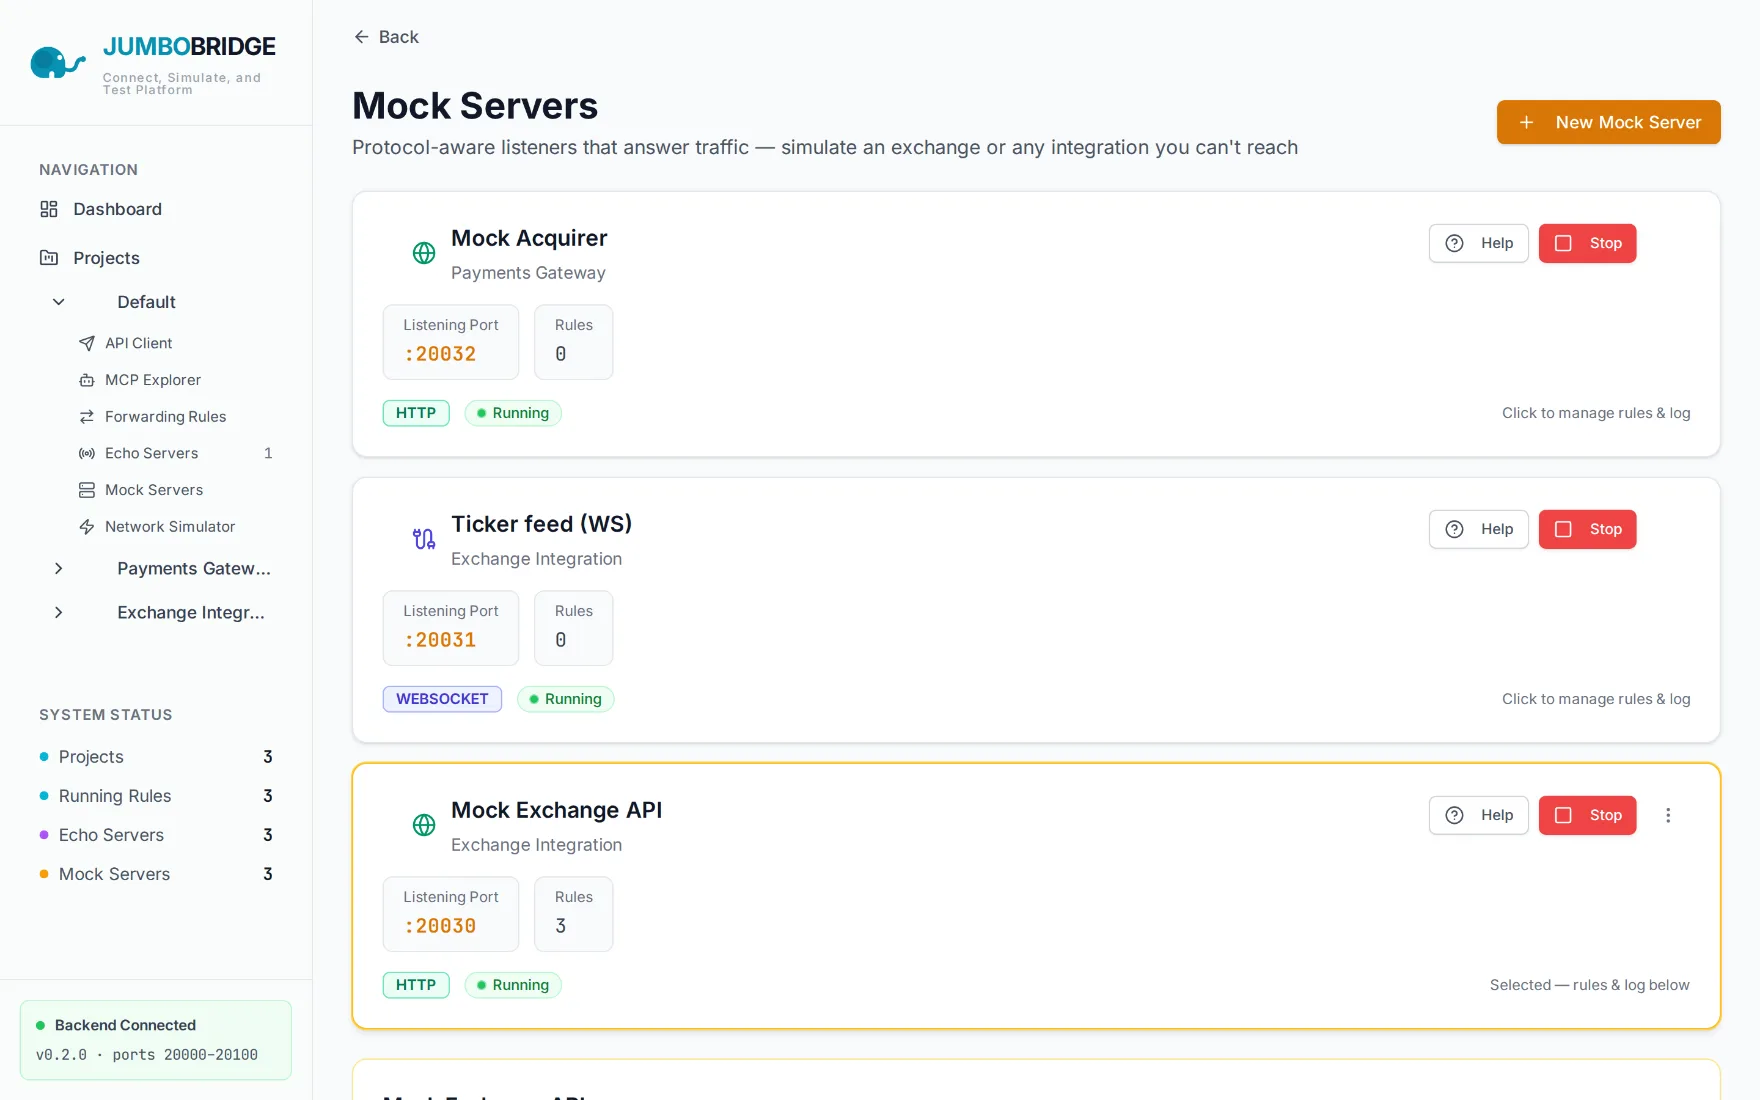
Mock servers answer traffic instead of forwarding it. Choose a protocol — HTTP, WebSocket, raw TCP, or an MCP/LLM simulator — then add priority-ordered rules that match on method, path, headers or body and return templated responses. Every request is logged per server.
05
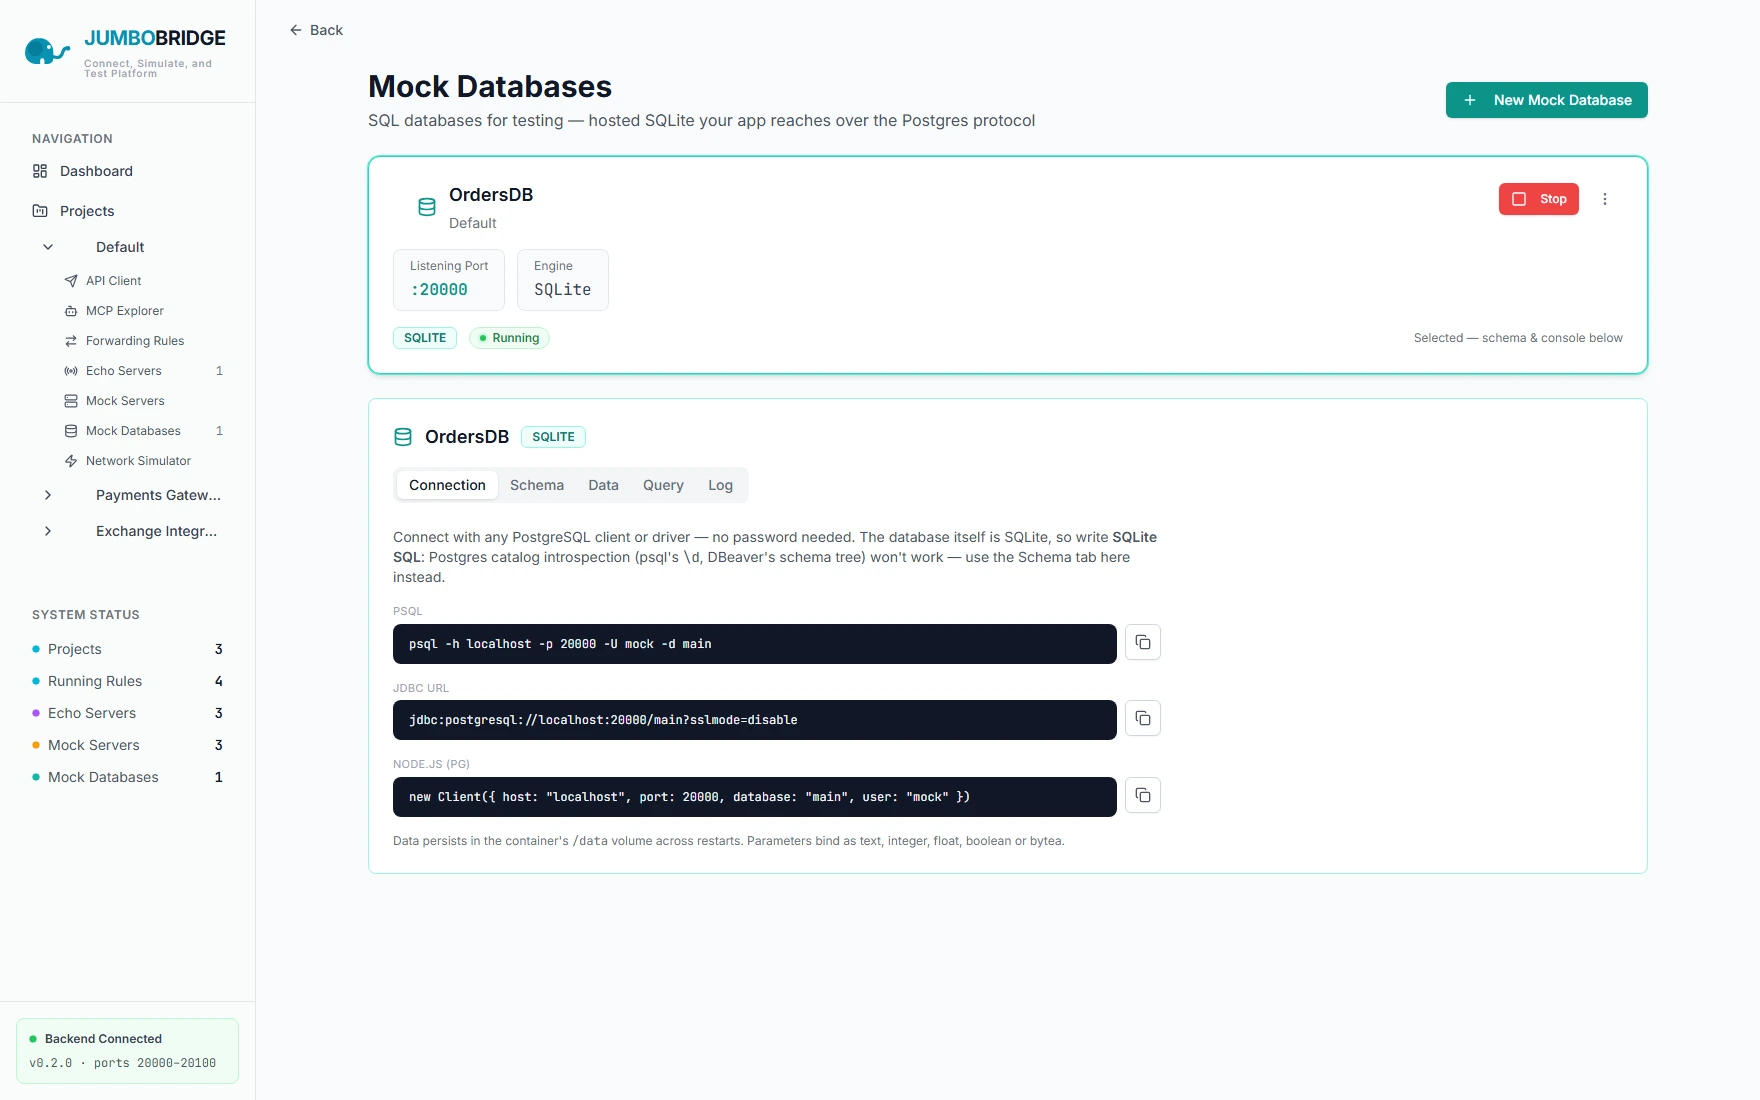
Host a mock database
A mock database is a real SQLite database hosted on a reserved port over the PostgreSQL wire protocol — your app connects with the ordinary Postgres driver it already ships with. Seed schema and data from the built-in SQL console, browse tables in the Schema tab, and watch every statement clients run in the live query log.
06
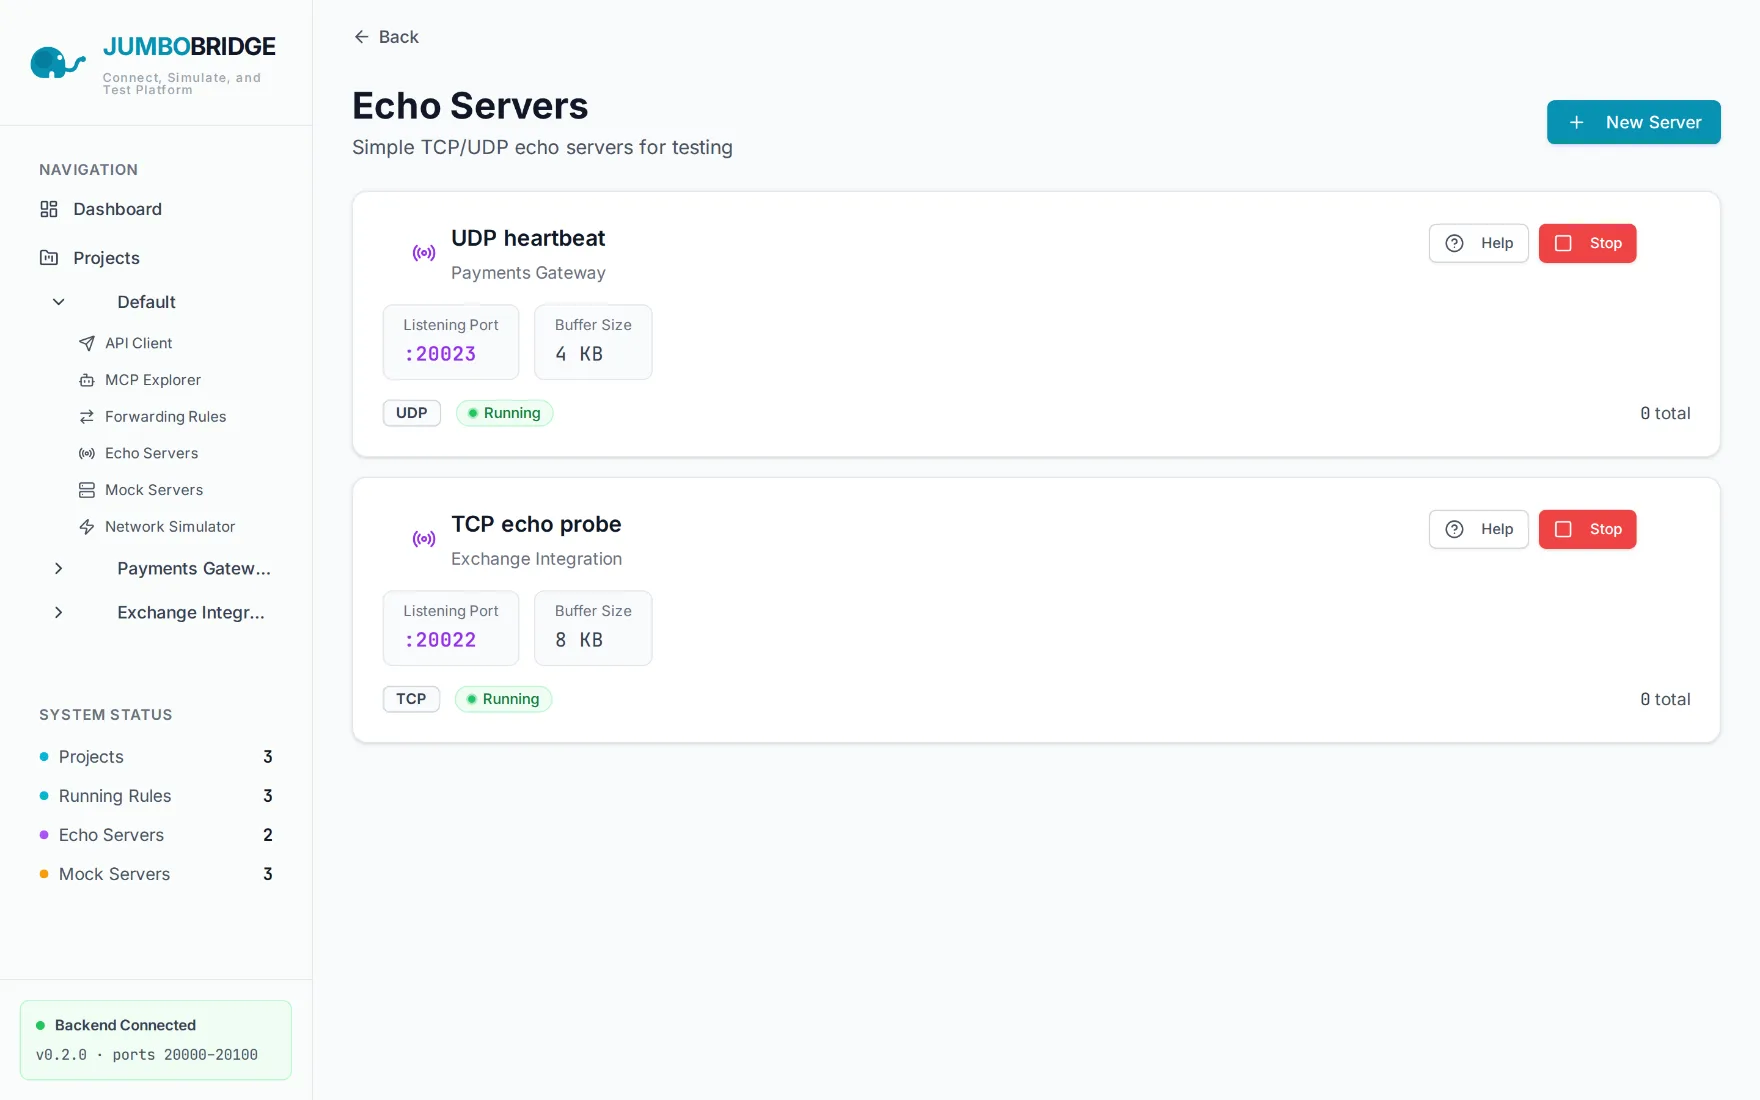
Spin up an echo server
Need to prove a path end-to-end fast? An echo server is a TCP or UDP listener that mirrors back whatever it receives — perfect for a quick connectivity smoke test through a forward or a disruption.
07
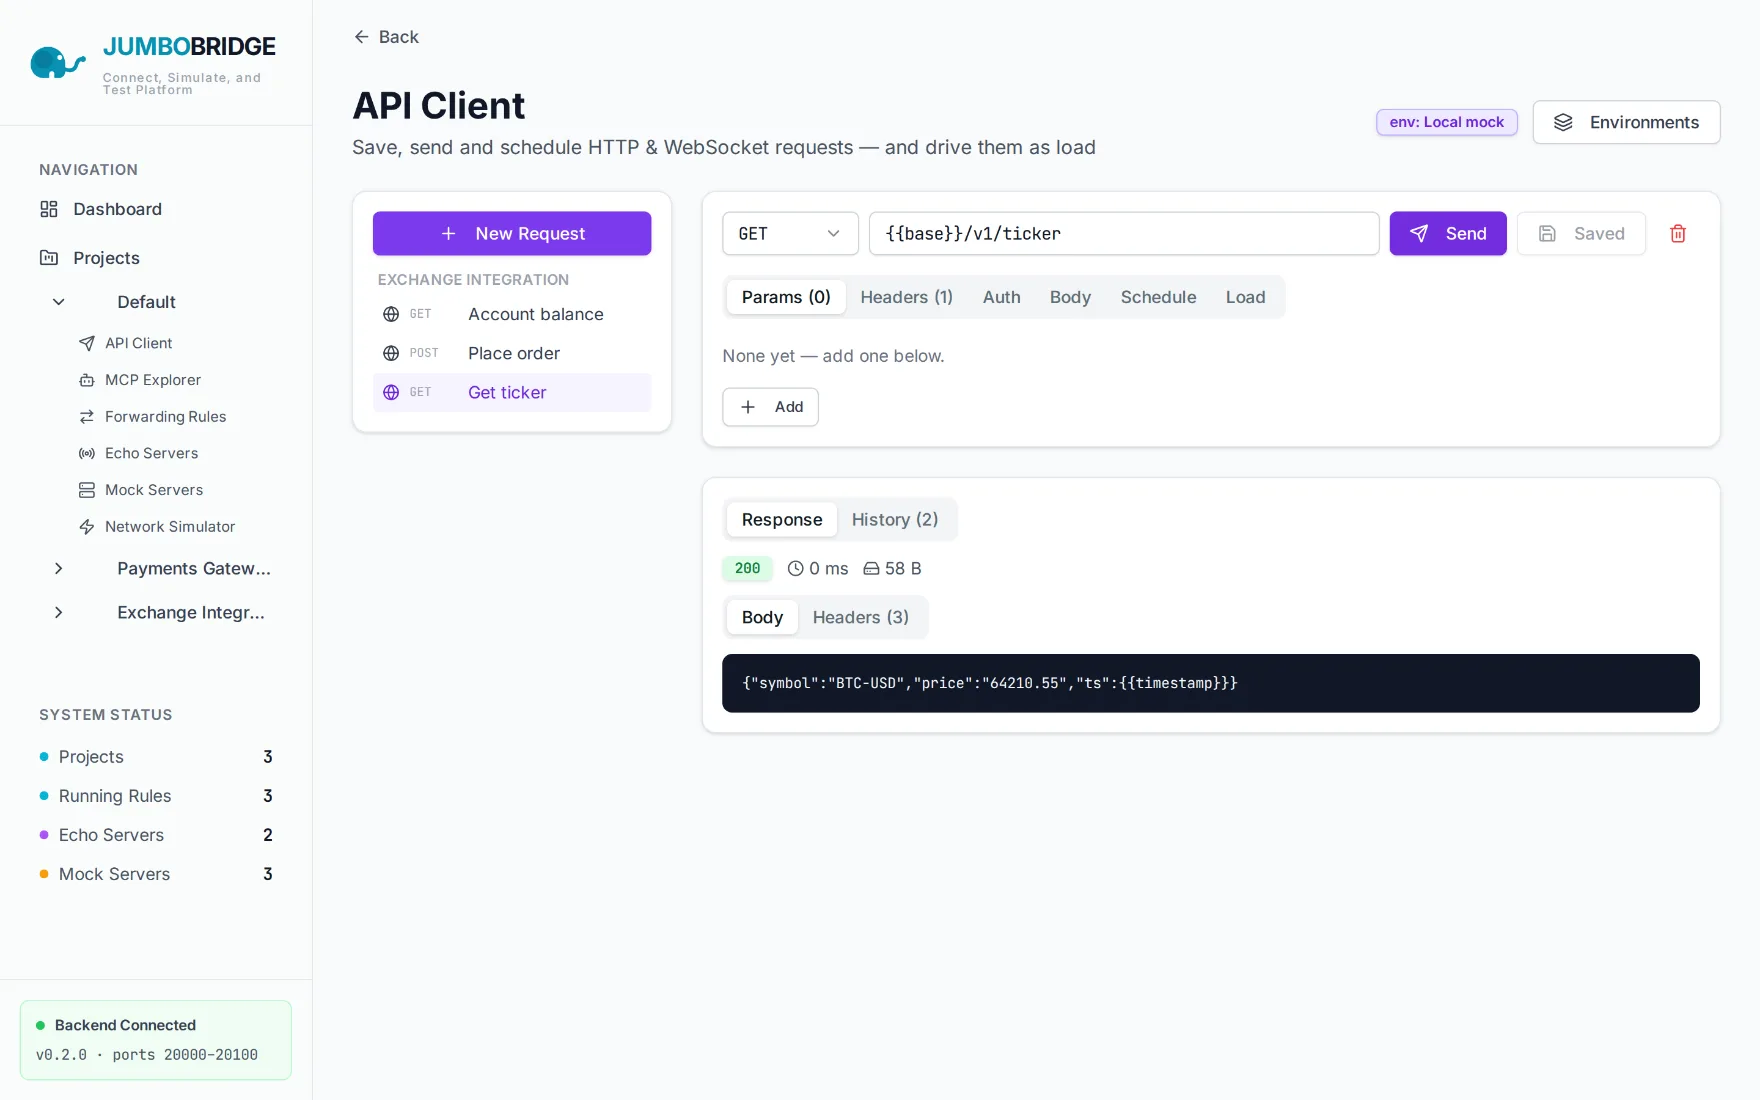
Drive requests with the API client
The built-in API client sends HTTP and WebSocket requests server-side — no CORS, and it can reach internal ports. Save requests, swap in {{variables}} from an environment, inspect the full response, keep a history, schedule monitors, or drive a request as concurrent load.
08
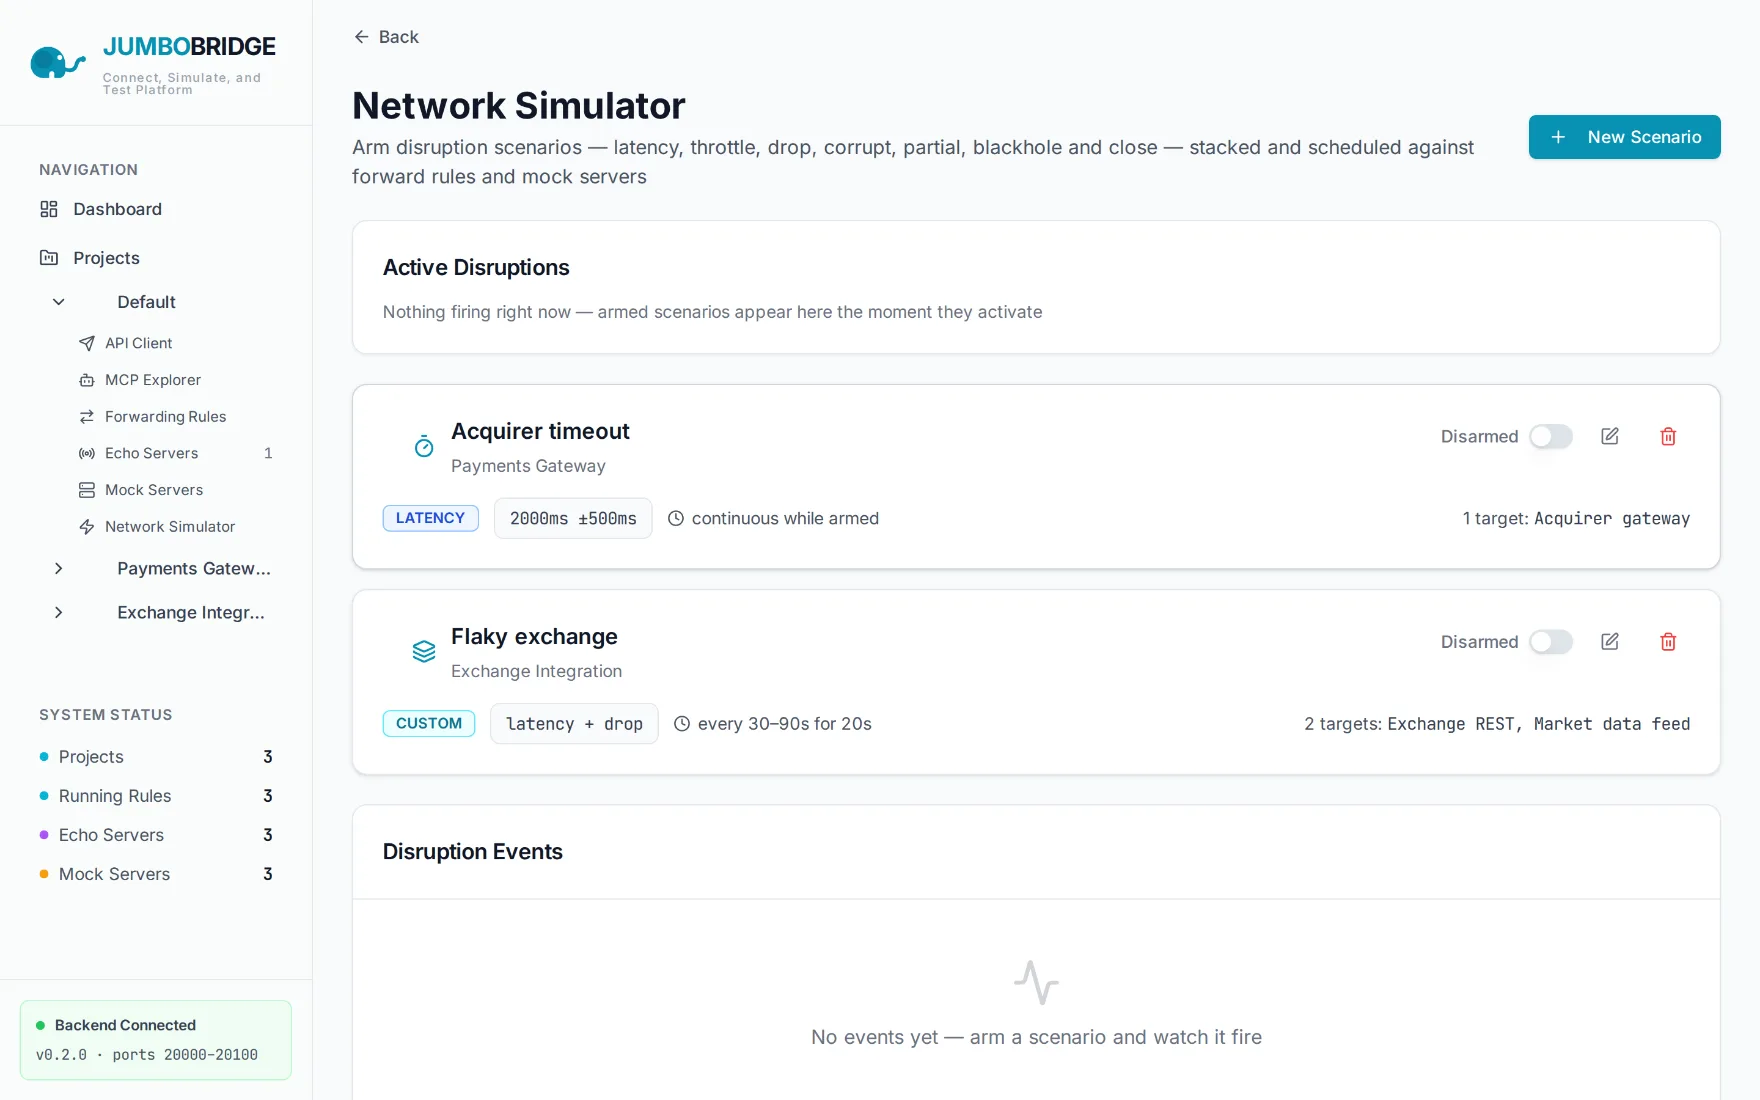
Break the network on purpose
Arm a disruption scenario against any forward or mock: latency (with jitter), throttle, drop, corrupt, partial, blackhole or close. Stack several at once and run them continuously or on a random schedule to see what actually holds.
09
Explore MCP servers
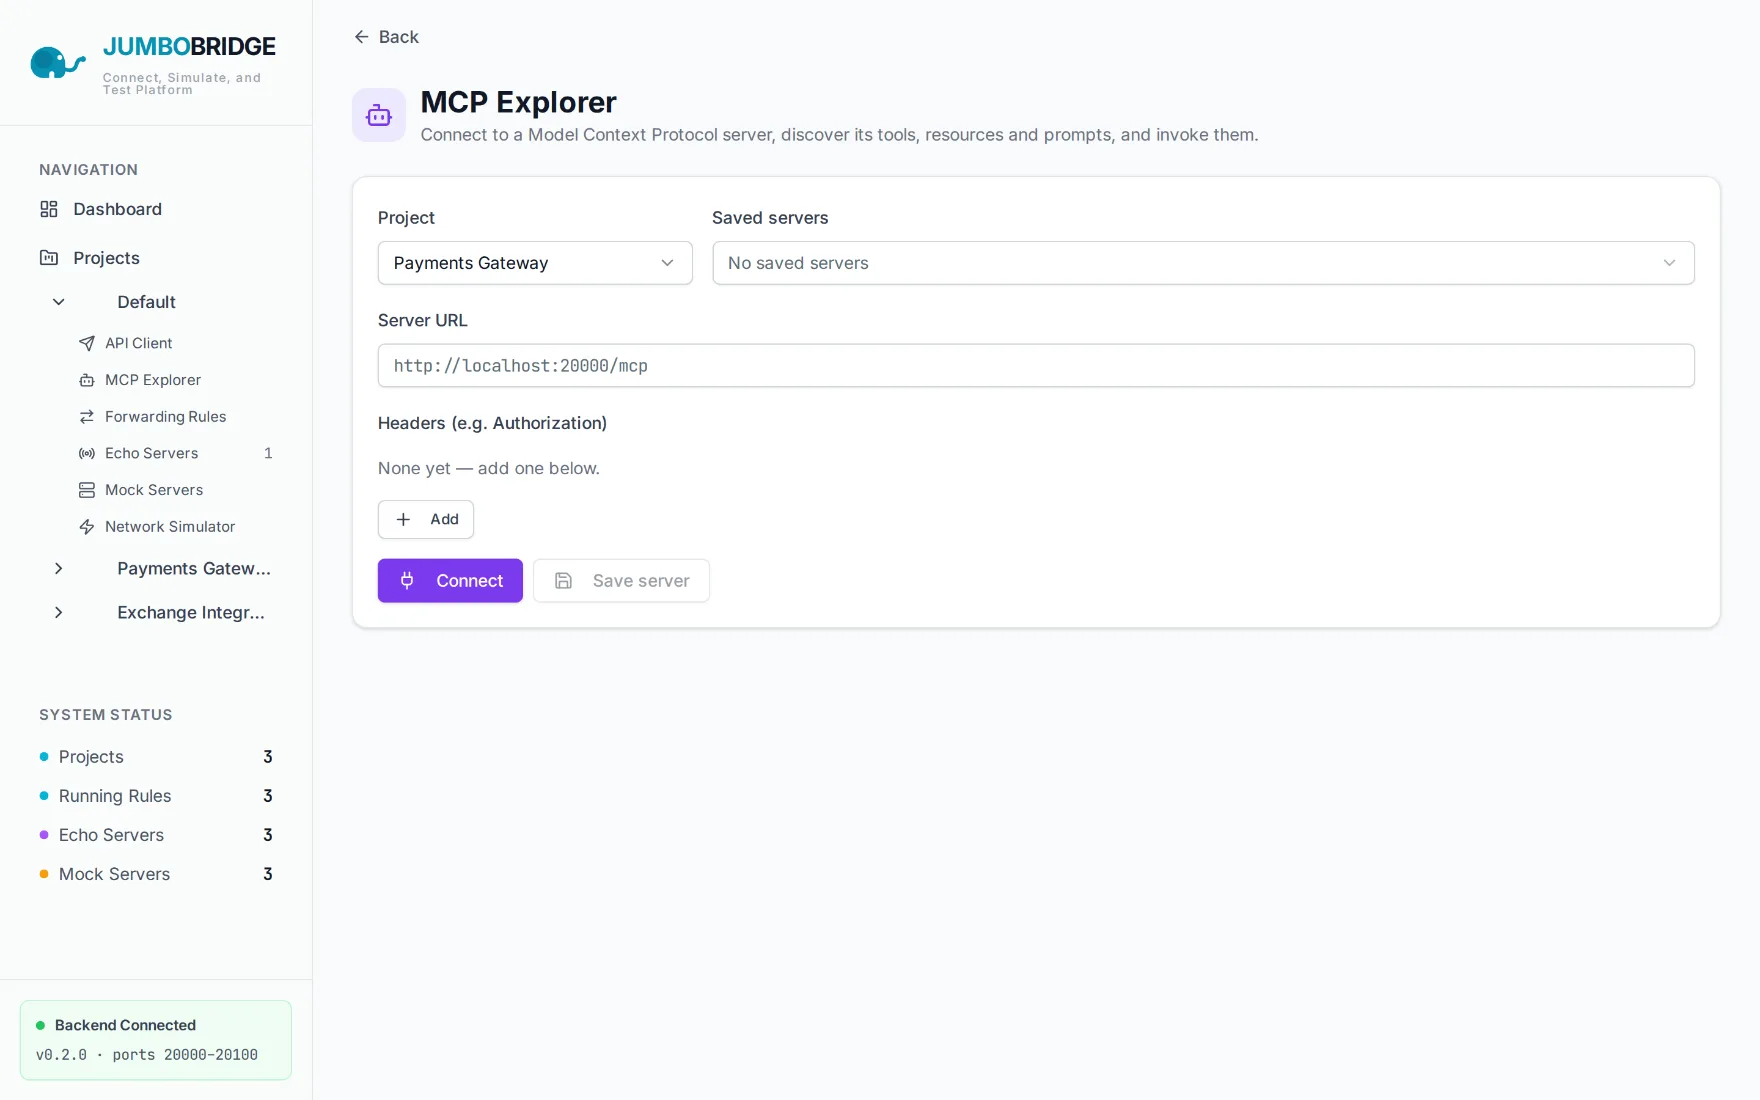
Point the MCP Explorer at any Model Context Protocol server, connect, and browse its tools, resources and prompts — then invoke them live. Bookmark servers per project so they're a click away.
Headless
4 · Headless CLI (jb)
The same engines ship as a standalone jb binary for Windows, Linux and macOS — no UI, no control server. Run forwarders, echo servers, mock servers and hosted mock databases from flags, a config file, or the very same database the server uses.
Install
Grab a prebuilt binary from the latest GitHub release (checksums in SHA256SUMS.txt):
Before starting, jb up validates the whole batch — bad protocols, duplicate ports, ports already in use — so a batch either starts fully or not at all. Ctrl+C stops every listener cleanly, and mock request / database query logs stream to stdout as [mock] / [db] JSON lines.
jb — quickstart
jb forward --listen 20000 --to example.com:80   # one forwarder
jb echo --listen 20010                            # a TCP echo server
jb mock --listen 20020 --status 200 --body OK     # a static HTTP mock
jb up --config bridge.toml                        # a batch from a file
jb up --sqlite-path /data/jumbobridge.db          # run what the UI defined
A batch from a config file
jb up --config reads a TOML (or JSON) file listing any number of forwarders, echo servers and rule-driven mock servers:
bridge.toml
# bridge.toml
[[forward]]
name     = "api"
listen   = 20000
to       = "example.com:80"
protocol = "tcp"              # tcp | udp | http

[[echo]]
name   = "probe"
listen = 20010

[[mock]]
name     = "mock-exchange"
listen   = 20020
protocol = "http"             # http | websocket | tcp
config   = '{"fallback":{"status":404,"body":"no match"}}'

[[mock.rules]]                # priority-ordered; first match wins
name     = "ping"
matcher  = '{"path":"/ping"}'
response = '{"status":200,"body":"pong"}'
Run what the UI defined
Point jb up at the server's own store and it runs the same entities the console shows — including hosted mock databases, served over the Postgres wire protocol from the mockdbs/ directory next to the database file (override with --mockdb-dir):
jb — database mode
# Run everything the UI defined — including hosted mock databases
jb up --sqlite-path /data/jumbobridge.db --only-running

# Against a shared PostgreSQL store, one project only
jb up --database-url 'postgres://user:pass@host/jumbobridge' --project payments
Automating against the HTTP API instead? The whole surface is documented in the API reference.
That's the whole bridge
Pull the image, open the console, and put an elephant between your services.